It has been a long long time since I even uttered the words "papier-mâché." As kids we used to make so many papier-mâché projects, including a piggy bank! Due to a recent move, we have packing paper lying around - which, by the way, is awesome drawing paper, table liner for paint projects - and is perfect for papier-mâché! Here are some little bowls we made (we have leftover glue to make plates another day!) using small snack bowls for a mold. Depending on how fast your project dries between the different steps (especially if it's rainy and/or super humid!), the project may roll over a few days to complete. Have fun!
 |
| Day 1: Cover work surface with wipe-able tablecloth, make glue, rip/cut up little strips of paper, line bowls with Saran wrap. |
Materials:
- flour
- water
- salt
- thin paper or newspaper (we don't get the newspaper yet so we used packing paper)
- a mold for whatever you want to create
- Saran wrap to line the mold
- acrylic paint in an assortment of desired colors
- paint brushes
- mod podge if desired
Glue = whisk together 1 cup flour and 3 cups hot water and 3 tablespoons of salt (to discourage mold) until a thin glue-like consistency; add more flour or water as needed (note, there are other "glue" recipes out there, this just happens to be the one we used); this made more than enough for the two bowls we made so if you're making a little project, feel free to use half of the recipe.
 |
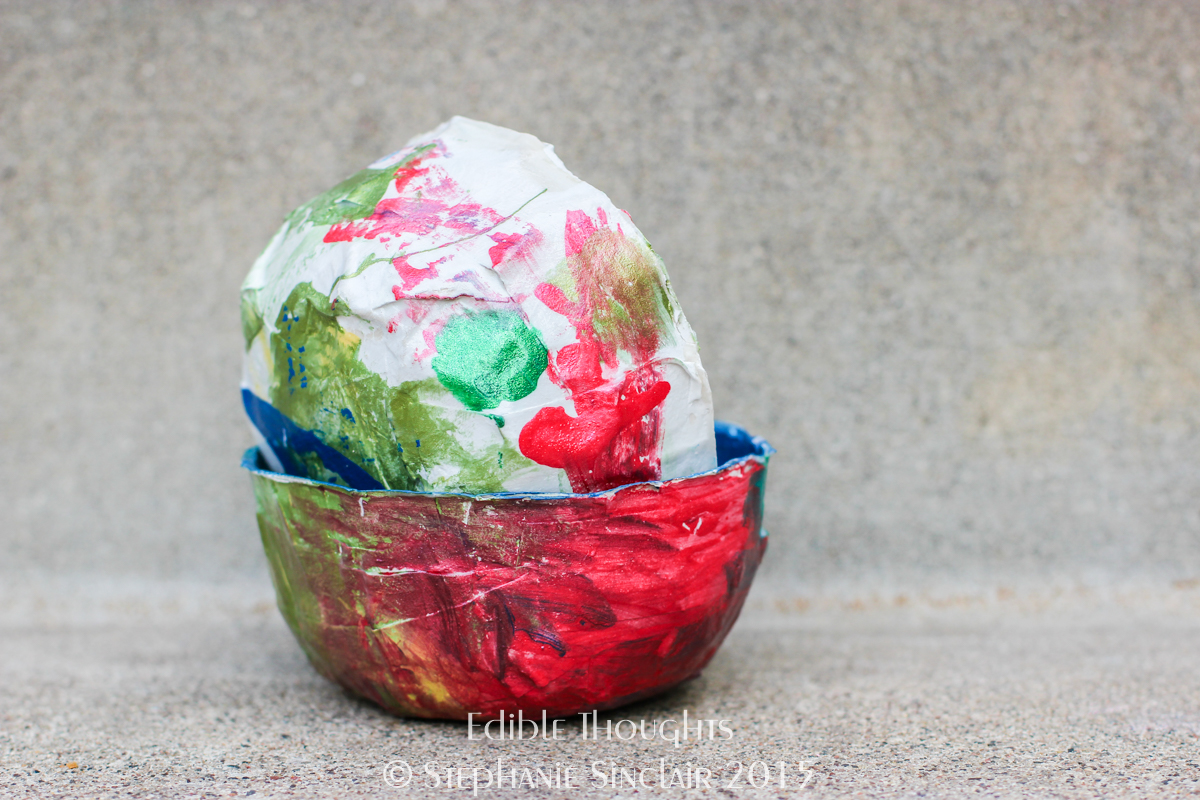
| Day 2: Remove bowls from the mold (toss the Saran wrap), paint bowls with a primer like gesso or just a solid acrylic paint coating. Allow bowls to dry completely before painting on other colors! It has been a bit humid here so the bowls have been drying next to the dehumidifier to speed things up! |
 |
| Day 2: Ready to paint! |
 |
| We bought some small acrylic paints on clearance. Little Miss E picked out the colors. Some of them have a pearly shine! "So sparkly mama!" |
 |
| "Mama, can I have orange brushes for my project?" |
 |
| "I'm painting a rainbow in the inside, mama." |
 |
| "My brush needs to be wet." |
 |
| "Hmmm...what color next?" |
 |
Day 2 or 3 (or whenever your bowls dry, acrylic paint dries pretty quickly but if you run out of time, leave it for the next day!): Time to seal the bowls with a glossy finish! I did this one sans-toddler since Mod Podge kinda smells. No rain this day so it was a back patio kind of thing. I did two layers total no the outside and inside of the bowls.
|
The finished products in action (note, the bowls are not food-safe, just for play!):
 |
| Garden Treasures |


What a great project.
ReplyDelete